Use apapche2
This guide shows you how to use Apache2 as your web server instead of the default option.
Setup Env
First of all, add small-shell user to the OS and then install required commands and libraries. Required commands and libraries are "curl, bc, cron, php, jq". In this example, will use the apt command on Ubuntu for installation.
# add a user
sudo useradd -s /sbin/nologin small-shell

# update apt list and install curl
sudo apt update
sudo apt install curl

# install bc, file, and crontab if its not installed
sudo apt install bc
sudo apt install file
sudo apt install cron

# install apache2
sudo apt install apache2
sudo a2enmod cgid
sudo service apache2 restart
sudo update-rc.d apache2 defaults

# install php library, it will be used for url encoding (required)
sudo apt install php

##install jq
sudo apt install jq
Installation
Once installed required commands and libraries, let's install small-shell from GitHub. And then you need to edit sudoers file.
# install
cd /usr/local
sudo git clone https://github.com/small-shell/small-shell.git
sudo chown -R small-shell:small-shell /usr/local/small-shell
sudo chmod 755 /usr/local/small-shell/adm/gen
Sudo setting
Here is example of sudo setting, you need to add permission to process owner of Web server.
# change sudo setting
sudo visudo
## add to last line
## sudo setting for httpd user (e.g.) www-data for apache2
www-data   ALL=(small-shell)    NOPASSWD: /usr/local/small-shell/bin/*, /usr/local/small-shell/sbin/*
Generate a Databox
Then Let's generate databox as the data store of Web App. For more details, please see the DATA shell documentation.
sudo /usr/local/small-shell/adm/gen -databox
#-> dialog will be started
Note
You can exit dialog anytime with Ctrl + C
Dialog
In this example, "item_name" is set as primary key.
Databox Name: item.db
Primary Key Name: item_name
Primary Key label: Item Name
Add more columns to the databox? (yes | no): yes
Col2 Key Name: description
Col2 Key Label: Description
Data Type (text | select | radio | checkbox | email | num | tel | date | date-time | url | textarea | file | pdls | mls): text
Set this as required? (yes | no): yes
Add more columns to the databox? (yes | no): no


The databox will be generated in the following order. Please check it.
-----------------------------------------------------------------
Databox Name:item.db
#primary_key
name="item_name"
label="Item Name"
type="text"
option="required"

#key(col2)
name="description"
label="Description"
type="text"
option="required"
-----------------------------------------------------------------
Is that OK? (yes | no): yes
Generate Base App
Once databox is ready, let's generate Base App.
sudo /usr/local/small-shell/adm/gen -app
Type of App (1.BASE | 2.FORM | 3.CUSTOM): 1
Type of Server (1.small-shell Web srv | 2.other Web srv): 2
#-> Dialog will be started, for making Base App
The result of dialog is as below, in this example http is used as protocol. If you want to use https, create cert and key for the web server and deploy to your apache server.
# Dialog result
--------------------------------------------------------------------------
APP Type: 1.BASE
Srv Type: other
Protocol: http
Web Server Process Owner: www-data
Root Directory: /var/www
CGI Directory: /usr/lib/cgi-bin
CGI base URL: http://${your_server_FQDN}/
Static Page Directory: /var/www/html
Server: $your_server_FQDN
Access URL: https://${your_server_FQDN}/cgi-bin/
--------------------------------------------------------------------------
Add symlink on ubuntu
If you are using ubuntu and apache2, add symlink by answering "yes" in the dialog.
www dir must have relation with CGI dir. Is it OK to make symbolic link on /usr/lib ?
following command will be executed
-----------------------------------------------------------------
ln -s /var/www/bin /usr/lib/bin
ln -s /var/www/def /usr/lib/def
ln -s /var/www/tmp /usr/lib/tmp
-----------------------------------------------------------------
(yes | no): yes
Add a user
The following example shows how to add the username "test", "test" can initialize and get base64 key by accessing the URL that will be generated by the command.
sudo /usr/local/small-shell/adm/ops add.usr:test
Please notice that the URL can be accessed only 1 time.
-------------------------------------------------------------------------------
This is the URL for key initialization and generation for test on Base App
-------------------------------------------------------------------------------
http://${your_server_FQDN}/cgi-bin/auth.base?initialize=*****26fd2,4c5a2ae68d20e530b4ce457c71eae42590135268e1fb933a945f7e188678ccf4
End user can access to Base App by clicking the button and key will be stored to local storage of browser.
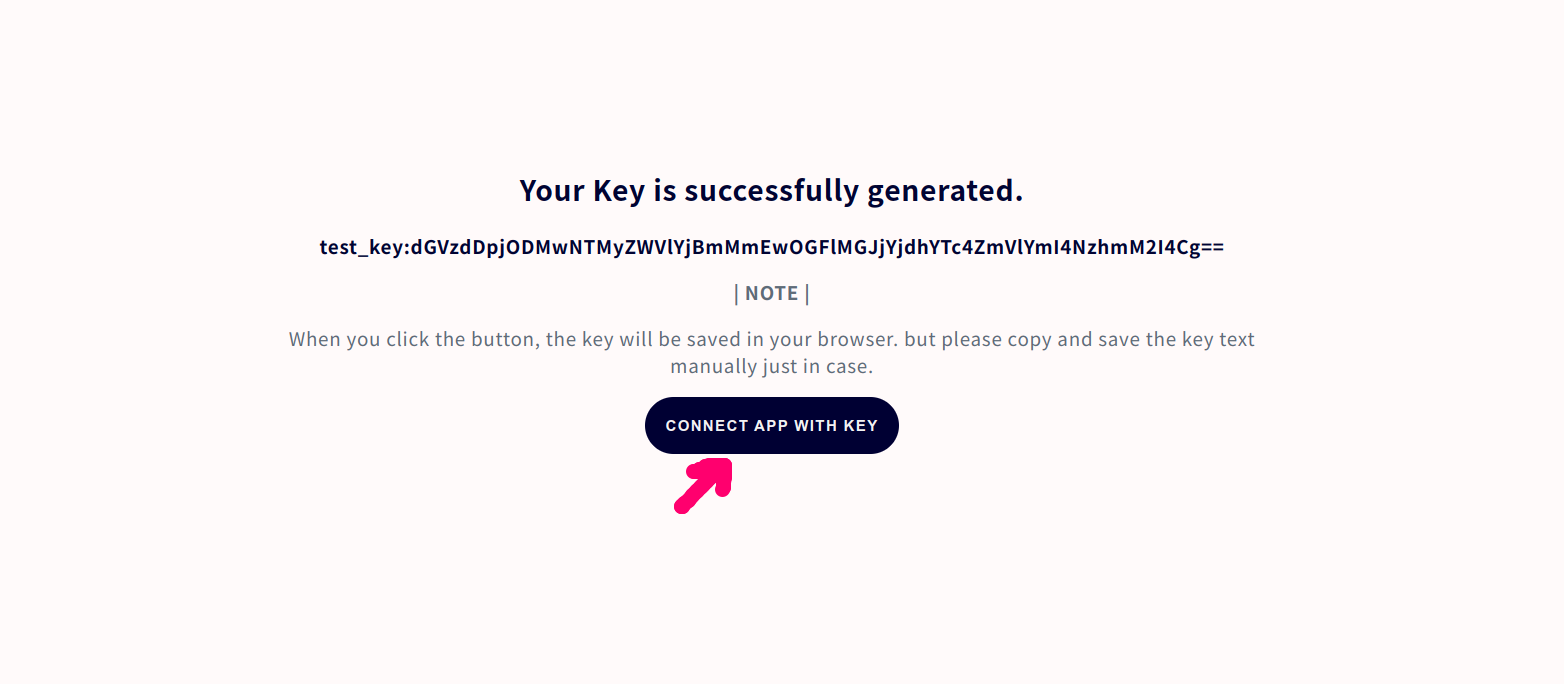
Access to Base App
The authentication page image of Base App is shown below. The access URL will be shown in the end of the gen dialog but basically it will be "http://${your_server_FQDN}/base". The key will be inserted automatically if it's stored in local storage.
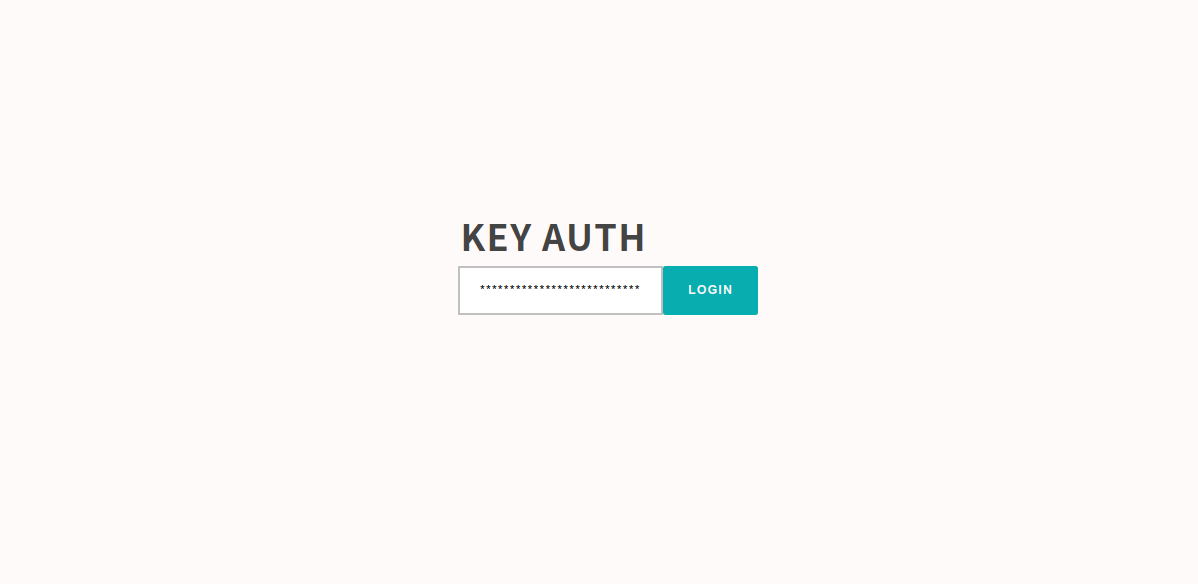
Base App Features
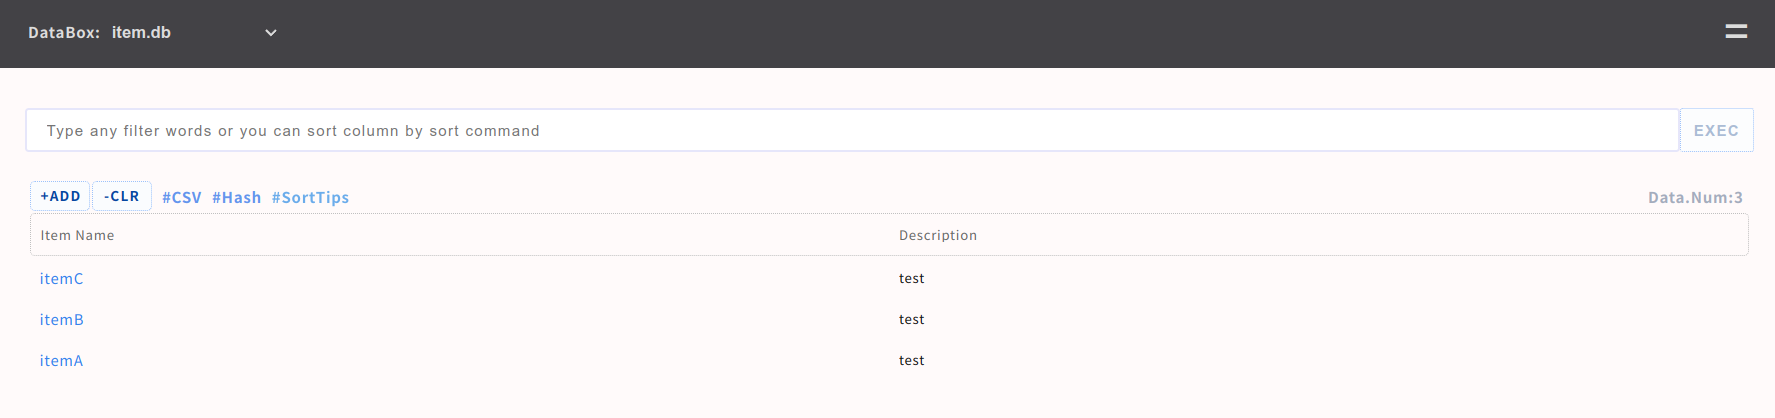
End user can use following features on Base App.
- Push or Get datas through simple UI
- Use spaces to perform an and search [e.g. word1 word2]
- Multiple sorting options using sort command
- Search using specific key of column [e.g key{wordA}]
- Download search result by CSV format
- Import Data with CSV format
- Define number of line per page [e.g #line:20] [e.g word #line:20]
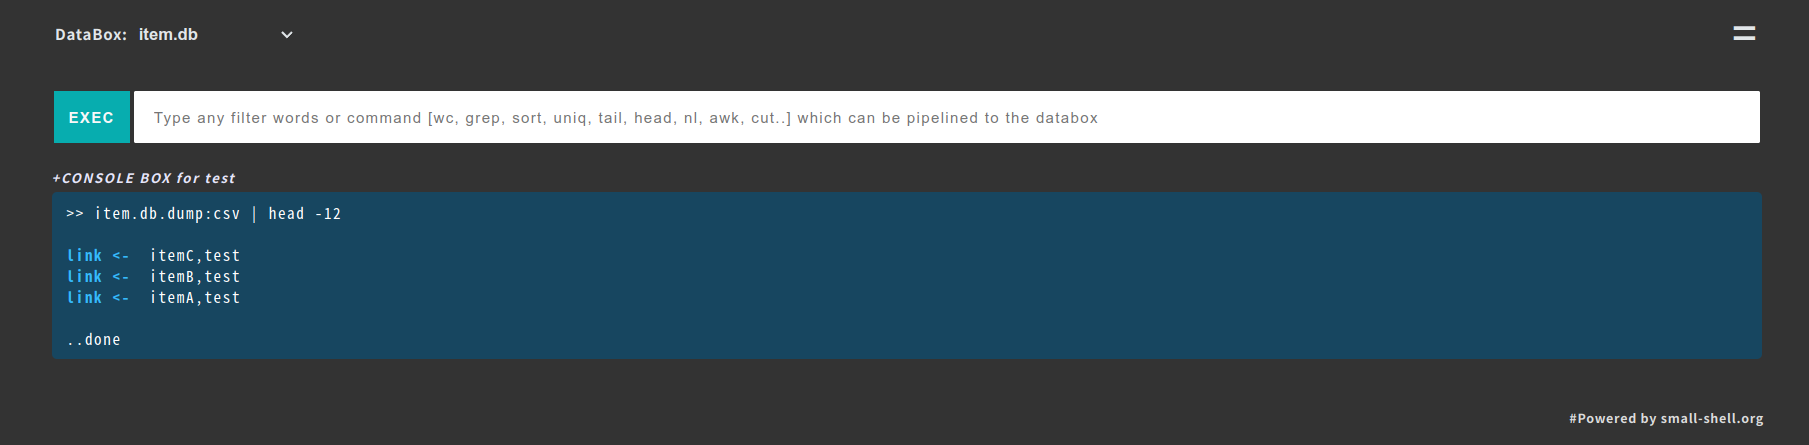
- Analyze data using linux commands [grep, wc, awk, uniq, sed, tail, head, nl, sort, cut ..]
- Search log with freewords by adding tag [e.g. word1 word2 #log]
- Show statistics #stats, if you define statistics job.
Re-generate initialize URL
If end user lost their key, you can re-generate initialize URL by following command. In this example, admin will re-generate initialize URL for user name "test"
sudo /usr/local/small-shell/adm/ops initialize.usr:test
SELinux setting change
If you are using SELinux, pelase change to permissive mode and then make specific rule for SE linux before enforcing.
## check SEinux
sestatus
## if current mode is enforcing. change to permissive. then make rule later.
sudo vi /etc/selinux/config
SELINUX=permissive
##reoobt
sudo reboot
Update to the latest version
You can update small-shell very easily. Here is an example of update procedure. Once you clone the latest code, please re-generate Base App.
cd /var/tmp
sudo git clone https://github.com/small-shell/small-shell.git
sudo \cp -Rf small-shell/* /usr/local/small-shell/
sudo rm -rf small-shell
sudo /usr/local/small-shell/adm/gen #renew global.conf
Create Custom App
Custom App is editable app that you can add many functions to the app. See detail in here.